Note
Click here to download the full example code
Plotting text
It is often useful to add annotations to a map plot. This is handled by
pygmt.Figure.text.
import os
import pygmt
Basic map annotation
Text annotations can be added to a map using the pygmt.Figure.text
method of the pygmt.Figure class.
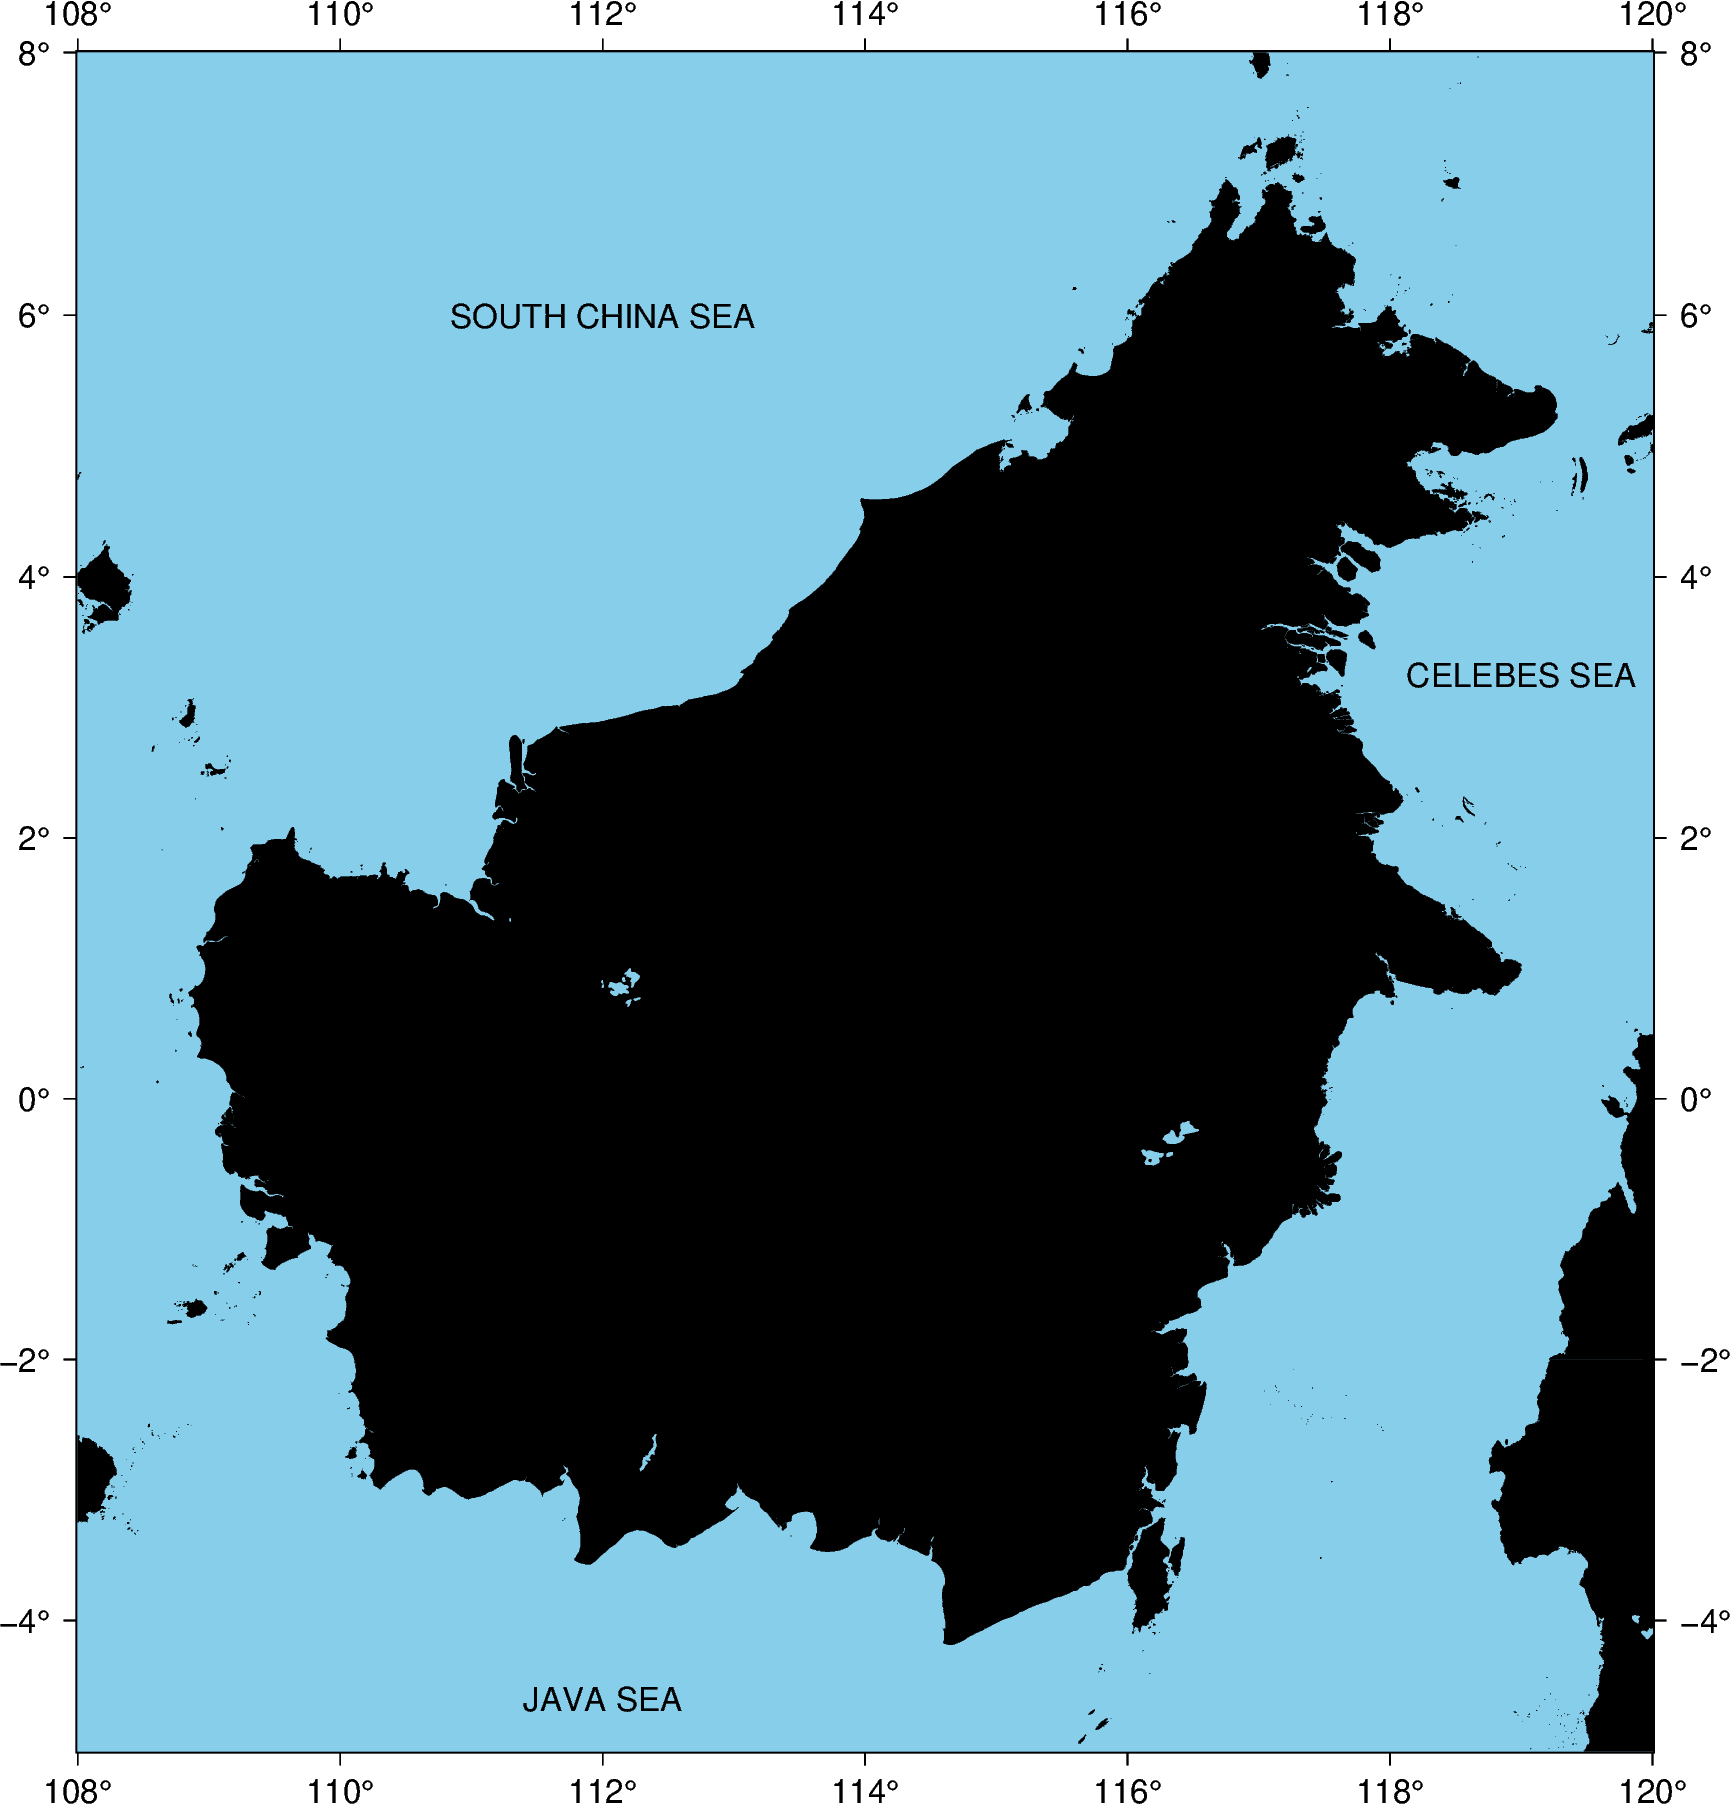
Here we create a simple map and add an annotation using the text, x,
and y arguments to specify the annotation text and position in the
projection frame. text accepts ‘str’ types, while x, and y
accepts either ‘int’/’float’ numbers, or a list/array of numbers.
fig = pygmt.Figure()
with pygmt.config(MAP_FRAME_TYPE="plain"):
    fig.basemap(region=[108, 120, -5, 8], projection="M20c", frame="a")
fig.coast(land="black", water="skyblue")

# Plotting text annotations using single elements
fig.text(text="SOUTH CHINA SEA", x=112, y=6)

# Plotting text annotations using lists of elements
fig.text(text=["CELEBES SEA", "JAVA SEA"], x=[119, 112], y=[3.25, -4.6])

fig.show()
Out:
<IPython.core.display.Image object>
Changing font style
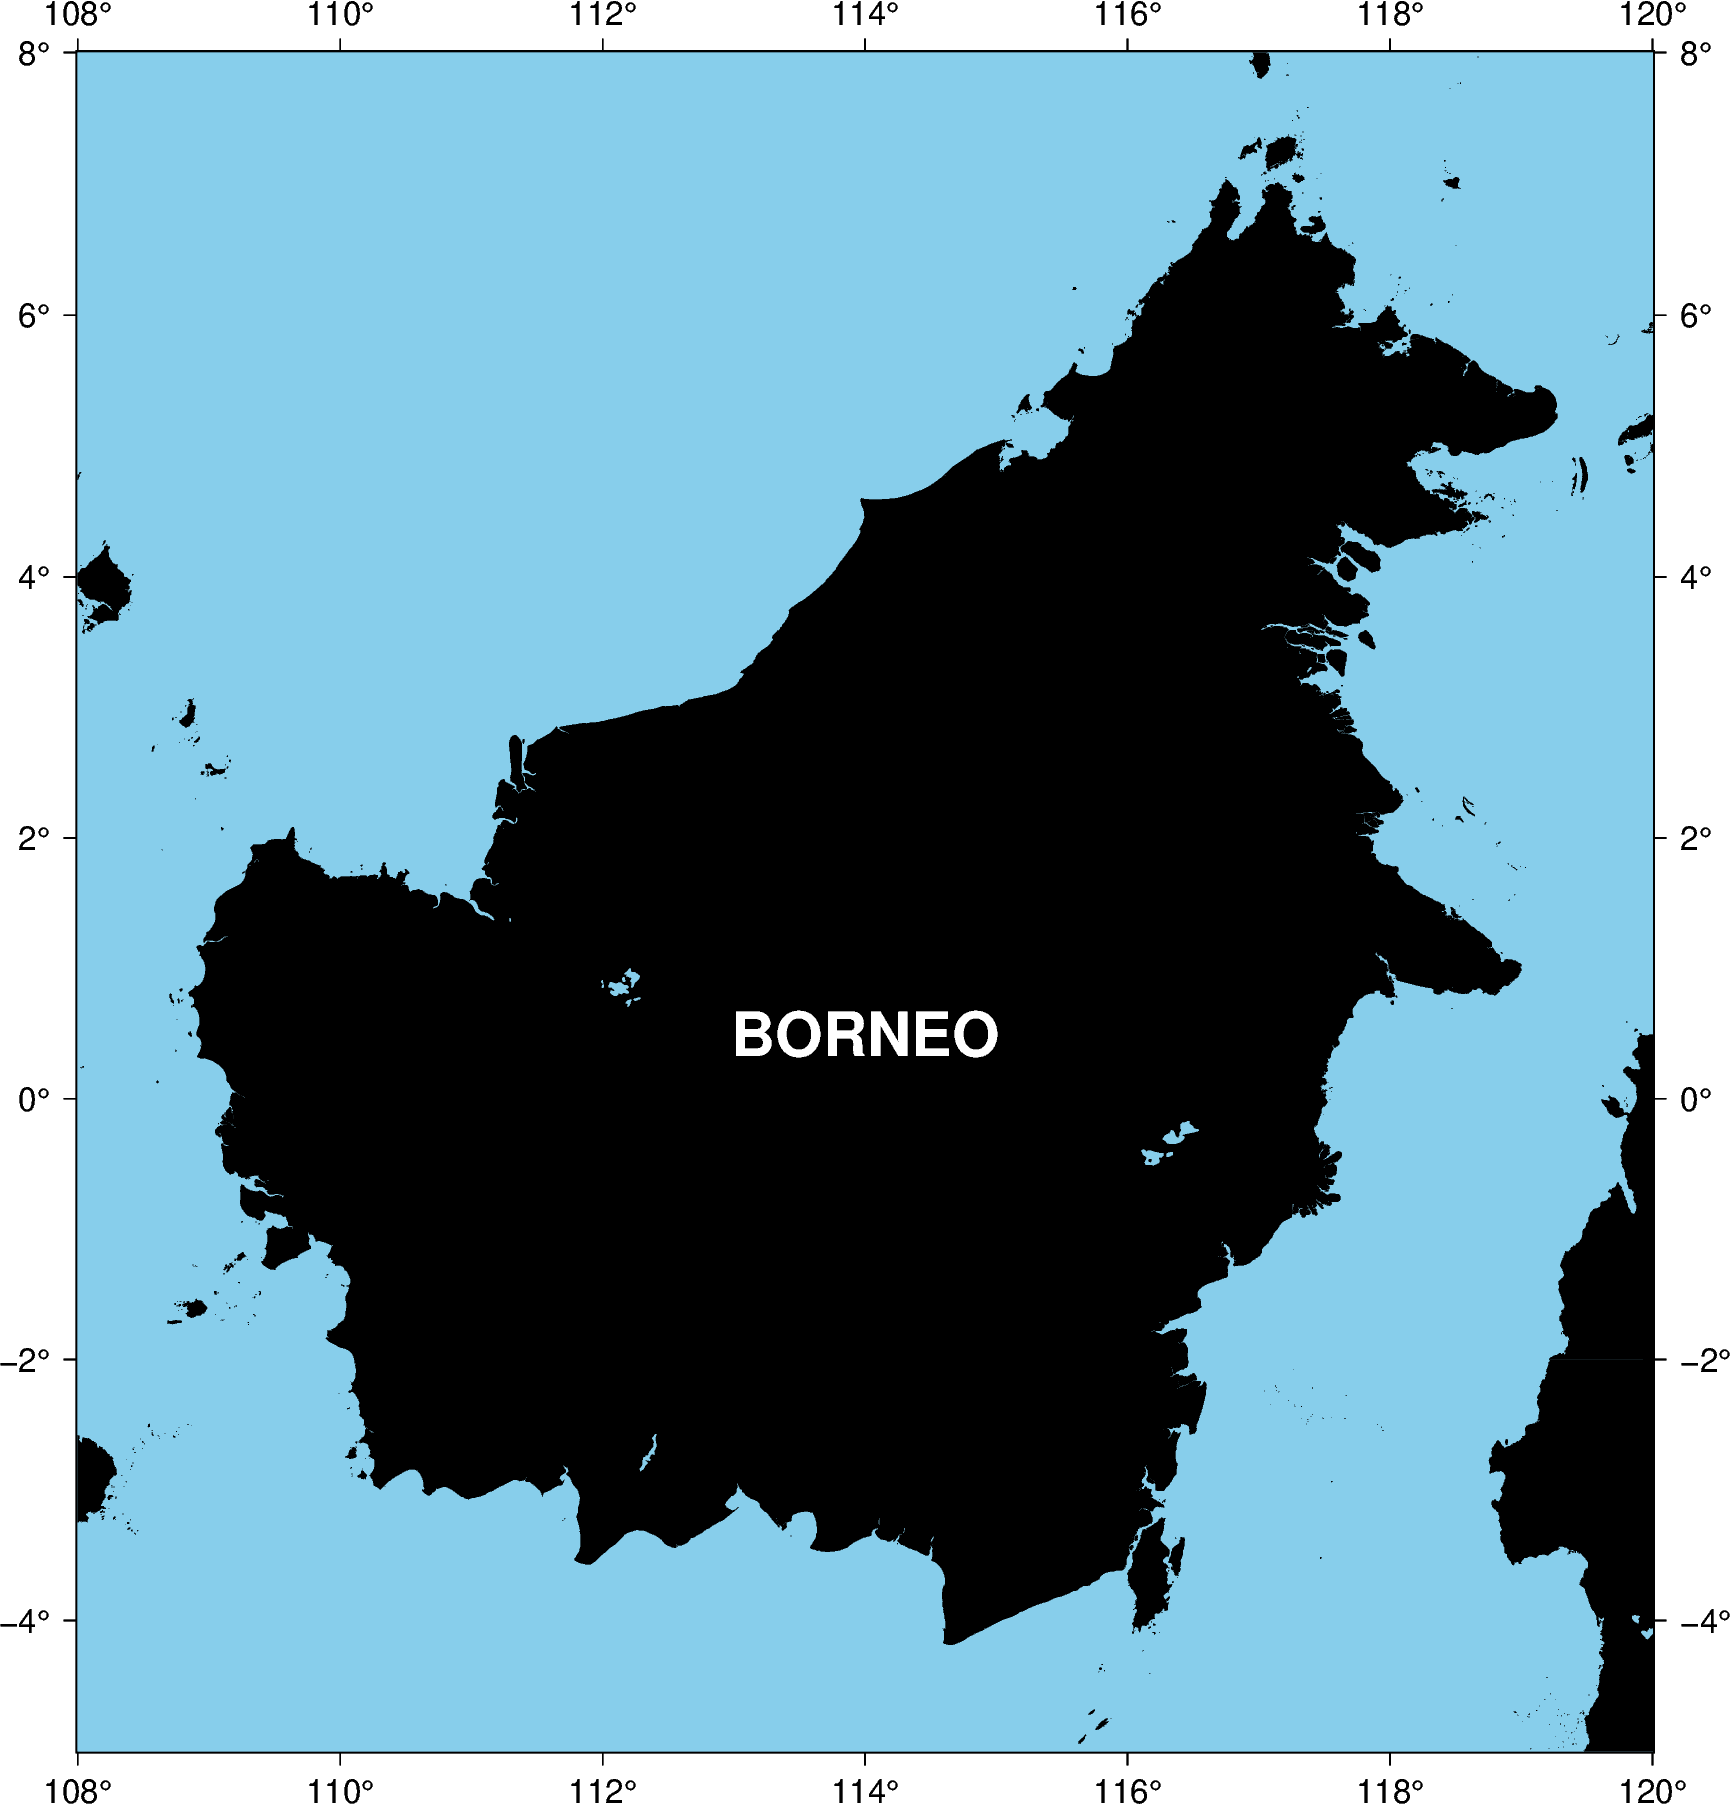
The size, family/weight, and color of an annotation can be specified using
the font argument.
A list of all recognised fonts can be found at https://docs.generic-mapping-tools.org/latest/cookbook/postscript-fonts.html, including details of how to use non-default fonts.
fig = pygmt.Figure()
with pygmt.config(MAP_FRAME_TYPE="plain"):
    fig.basemap(region=[108, 120, -5, 8], projection="M20c", frame="a")
fig.coast(land="black", water="skyblue")

# Customising the font style
fig.text(text="BORNEO", x=114.0, y=0.5, font="22p,Helvetica-Bold,white")

fig.show()
Out:
<IPython.core.display.Image object>
Plotting from a text file
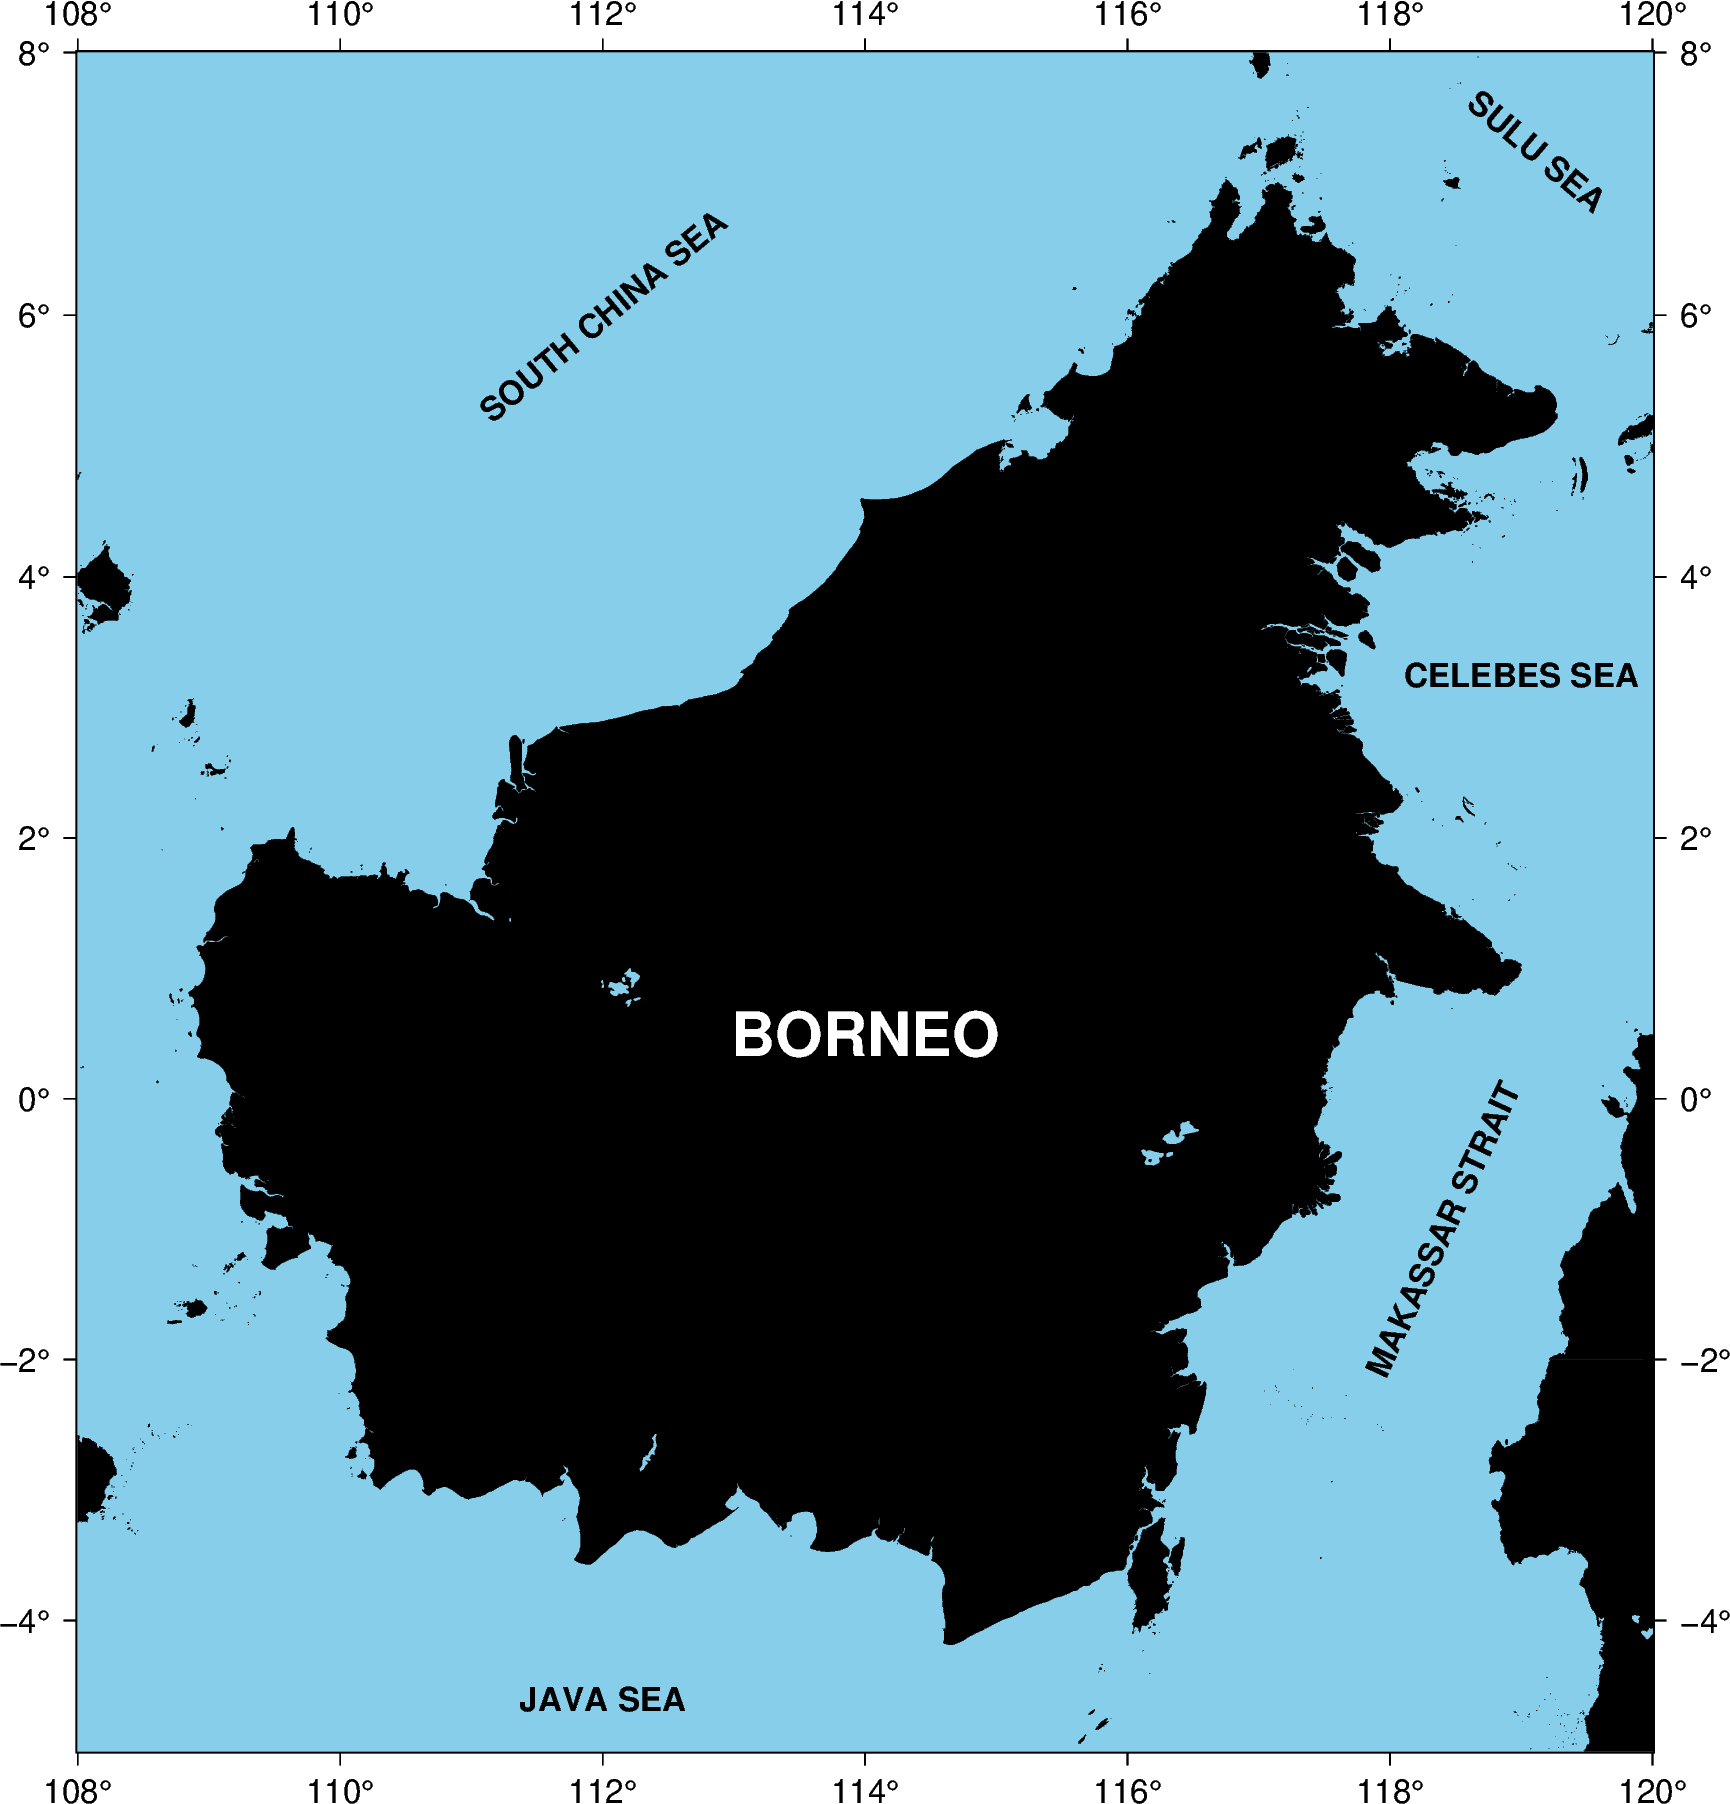
It is also possible to add annotations from a file containing x, y, and text fields. Here we give a complete example.
fig = pygmt.Figure()
with pygmt.config(MAP_FRAME_TYPE="plain"):
    fig.basemap(region=[108, 120, -5, 8], projection="M20c", frame="a")
fig.coast(land="black", water="skyblue")

# Create space-delimited file
with open("examples.txt", "w") as f:
    f.write("114 0.5 0 22p,Helvetica-Bold,white CM BORNEO\n")
    f.write("119 3.25 0 12p,Helvetica-Bold,black CM CELEBES SEA\n")
    f.write("112 -4.6 0 12p,Helvetica-Bold,black CM JAVA SEA\n")
    f.write("112 6 40 12p,Helvetica-Bold,black CM SOUTH CHINA SEA\n")
    f.write("119.12 7.25 -40 12p,Helvetica-Bold,black CM SULU SEA\n")
    f.write("118.4 -1 65 12p,Helvetica-Bold,black CM MAKASSAR STRAIT\n")

# Plot region names / sea names from a text file, where
# the longitude (x) and latitude (y) coordinates are in the first two columns.
# Setting angle/font/justiry to True will indicate that those columns are
# present in the text file too (Note: must be in that order!).
# Finally, the text to be printed will be in the last column
fig.text(textfiles="examples.txt", angle=True, font=True, justify=True)

# Cleanups
os.remove("examples.txt")

fig.show()
Out:
<IPython.core.display.Image object>
justify argument
justify is used to define the anchor point for the bounding box for text
being added to a plot. The following code segment demonstrates the
positioning of the anchor point relative to the text.
The anchor is specified with a two letter (order independent) code, chosen from: * Vertical anchor: T(op), M(iddle), B(ottom) * Horizontal anchor: L(eft), C(entre), R(ight)
fig = pygmt.Figure()
fig.basemap(region=[0, 3, 0, 3], projection="X10c", frame=["WSne", "af0.5g"])
for position in ("TL", "TC", "TR", "ML", "MC", "MR", "BL", "BC", "BR"):
    fig.text(
        text=position,
        position=position,
        font="28p,Helvetica-Bold,black",
        justify=position,
    )
fig.show()

Out:
<IPython.core.display.Image object>
angle argument
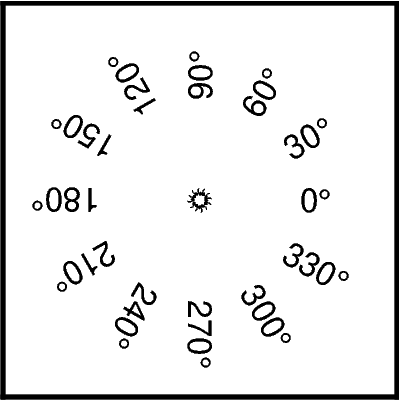
angle is an optional argument used to specify the clockwise rotation of
the text from the horizontal.
fig = pygmt.Figure()
fig.basemap(region=[0, 4, 0, 4], projection="X5c", frame="WSen")
for i in range(0, 360, 30):
    fig.text(text=f"`          {i}@.", x=2, y=2, justify="LM", angle=i)
fig.show()
Out:
<IPython.core.display.Image object>
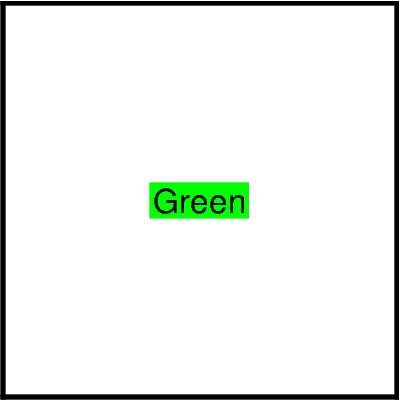
fill argument
fill is used to set the fill color of the area surrounding the text.
fig = pygmt.Figure()
fig.basemap(region=[0, 1, 0, 1], projection="X5c", frame="WSen")
fig.text(text="Green", x=0.5, y=0.5, fill="green")
fig.show()
Out:
<IPython.core.display.Image object>
Advanced configuration
For crafting more advanced styles, be sure to check out the GMT documentation at https://docs.generic-mapping-tools.org/latest/text.html and also the cookbook at https://docs.generic-mapping-tools.org/latest/cookbook/features.html#placement-of-text. Good luck!
Total running time of the script: ( 0 minutes 4.627 seconds)